
Duct Leakage Test: Requirements, SMACNA Procedure, Equipment and Cost

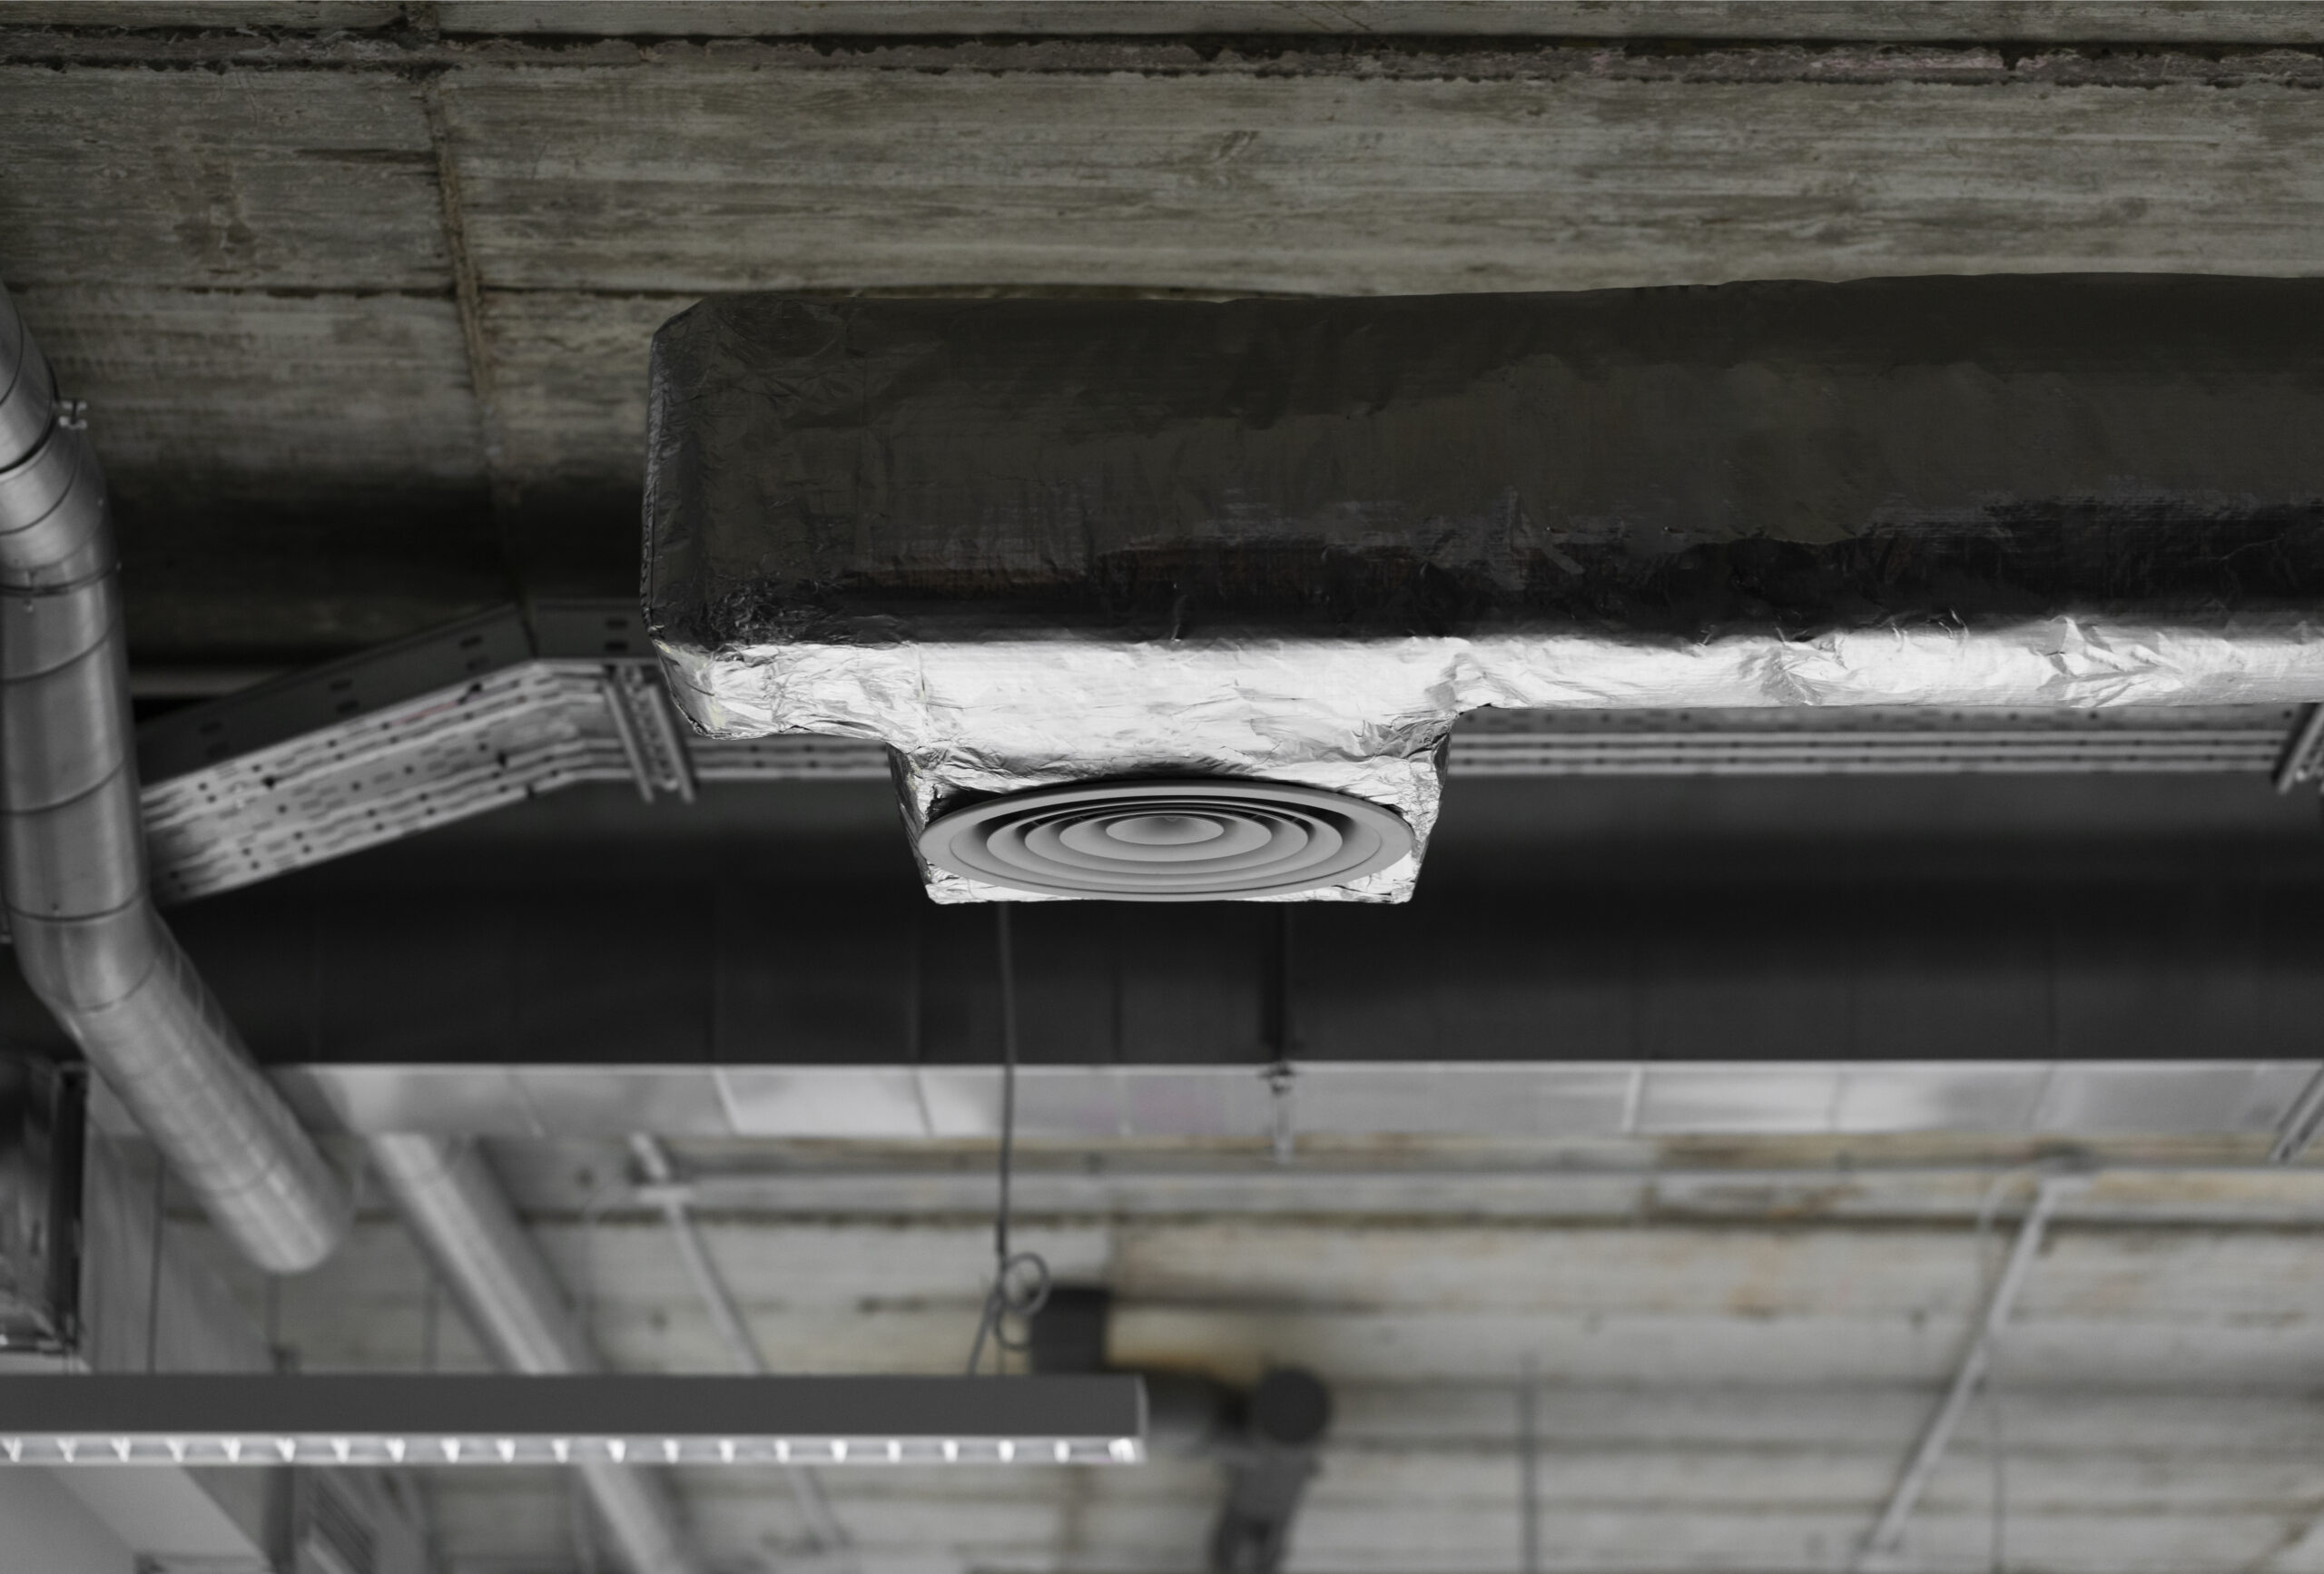
A duct system can look perfect and still waste a large share of its air. Leaks at joints and seams are rarely visible once the ceiling is closed.A duct leakage test finds them before handover. This guide covers requirements, the SMACNA method, equipment, step-by-step procedure, calculation, and cost.
Duct Leakage Test Requirements
The project specification decides what must be tested, and it normally points to the SMACNA HVAC Air Duct Leakage Test Manual. Saudi projects also follow the mechanical provisions of the Saudi Building Code (SBC 501) where they apply.
Typical leakage test requirements include the following:
- A stated seal class and leakage class for each pressure class
- A test pressure equal to the duct design pressure class, never above it
- A minimum share of installed duct to test
- Testing before insulation or concealment
- A signed test report with results and equipment calibration
Many codes start with at least 10 percent of installed duct. If that fails, the sample grows to 40 percent, then 100 percent.
Some codes require more, so confirm the share with your consultant.
When Should Duct Leakage Testing Be Performed?
leakage testing should be scheduled according to the approved inspection and testing plan. Where required, testing should take place after the relevant duct sections have been assembled and sealed, but before insulation, ceiling closure, or other work makes the connections difficult to access.
Testing at this stage allows the installation team to locate and repair leaks without removing finished construction. The contractor should coordinate test sections, access, pressure requirements, and inspection dates with the consultant before starting.
If a section fails, the team should identify the source of leakage, complete the necessary repairs, and retest the affected section in accordance with the project acceptance criteria.
Duct Leakage Test as per SMACNA
A Duct Leakage Test as per SMACNA does not use a percentage of fan flow. It uses leakage per unit of duct surface area, which SMACNA considers a fairer measure because size affects leakage.
The limit comes from one formula: F = CL x P^0.65. F is the maximum leakage in cfm per 100 ft² of duct surface, CL is the leakage class and P is the test pressure in inches of water.
The leakage class depends on the seal class:
| Seal Class | What is sealed | Rectangular CL | Round CL |
| C | Transverse joints only | 16 | 8 |
| B | Joints and seams | 8 | 4 |
| A | Joints, seams and wall penetrations | 4 | 2 |
Higher pressure classes need a tighter seal class. To convert units, 1 cfm per 100 ft² equals about 0.0508 L/s per m².
Planning ducts for a tested system? Samman can fabricate to your specified seal class and coordinate details with your team.
Duct Leakage Class Explained
Duct leakage class is a numerical classification used to establish the allowable air leakage from a duct system at a specified pressure. A lower leakage class value generally represents a tighter leakage limit under the same test pressure.
The required class depends on the system design, duct pressure, and project specifications. Engineers should select the appropriate classification before fabrication so that joint construction, sealant application, and inspection procedures match the intended performance.
The leakage class should not be confused with the duct pressure class or the seal class. Each describes a different aspect of ductwork design and performance.
Duct Leakage Test vs. Duct Pressure Test
A leakage test measures the amount of air escaping from a sealed duct section while it is maintained at a specified pressure. A duct pressure test, by contrast, may refer to testing whether the duct can withstand a specified pressure or verifying its pressure performance, depending on the test method.
These tests should not be treated as interchangeable. A duct section can withstand a test pressure but still have leakage above the permitted limit. Project specifications should identify the required test method, pressure, and acceptance criteria.
Duct Leakage Test Equipment
Duct leakage test equipment is simple, but it must be calibrated. A tester has a variable-speed fan, a calibrated orifice and manometers that read flow and duct pressure.
You also need:
- Flexible hose to connect the tester to the duct
- End caps and blanking plates to seal each test section
- Tape, mastic and temporary sealant for openings
- A smoke pencil or ultrasonic detector for tracing leaks
- A calibration certificate for the tester, which inspectors will ask for
Skip the duct leakage test on flexible duct and terminals unless the specification says otherwise. Equipment leakage is a separate matter from duct leakage.
How to Prepare Ductwork Before a Leakage Test
Proper preparation helps reduce failed tests and unnecessary retesting. Before pressurizing a duct section, the site team should confirm that the section is complete enough for testing and that the test boundaries are clearly identified.
Preparation should include:
- Reviewing the approved test procedure and specified pressure.
- Confirming the duct section’s dimensions and surface area.
- Checking joints, seams, access doors, and connections for incomplete sealing.
- Isolating branches and openings outside the test boundary.
- Verifying that end caps and temporary closures are secured.
- Confirming that the test equipment is suitable and calibrated.
- Establishing a safe exclusion area around temporary closures.
The test should not begin until the section, equipment, and safety arrangements are ready.
Duct Leakage Test Procedure Step by Step
Approve a written Leakage Test Procedure pdf with the consultant before any test starts. It should name the sections, test pressures and pass limits.
Then follow these steps:
- Select the test section and measure its surface area from the drawings.
- Seal all openings with end caps, including dampers and branches that are not part of the test.
- Connect the tester to the section through a hose and a test tap.
- Raise pressure slowly to the specified test pressure.
- Wait for the reading to stabilize, then record the airflow needed to hold pressure.
- Convert that flow to cfm or L/s and calculate the leakage factor.
- Compare the result with the allowed limit and record pass or fail.
- If it fails, find and seal leaks, then retest the same section.
The SMACNA HVAC Duct Leakage Test Manual pdf is published by SMACNA. Use the current edition and keep a copy in the test file.
Duct Leakage Testing Safety Precautions
Duct leakage testing involves pressurizing an enclosed section of ductwork, so temporary closures and connections must be secured before the test begins. End caps can become hazardous if they are displaced by internal pressure.
Key precautions include:
- Never exceed the specified test pressure or the permitted pressure rating of the duct section.
- Secure temporary caps, blanking plates, and test connections.
- Keep personnel clear of end caps and other temporary closures while the system is pressurized.
- Increase pressure gradually and monitor readings throughout the test.
- Depressurize the section before removing closures or making repairs.
- Follow the equipment manufacturer’s instructions and the site’s safety procedures.
These precautions should be incorporated into the approved method statement and risk assessment.
What Should a Duct Leakage Test Report Include?
A leakage test report documents whether the tested duct section meets the project’s acceptance criteria. It also provides a record for consultant review, quality control, and project handover.
A typical report should include:
- Project name, location, and test date.
- Identification and location of the tested duct section.
- Duct dimensions and calculated surface area.
- Specified pressure class and test pressure.
- Required leakage class and maximum allowable leakage.
- Measured airflow and calculated leakage result.
- Testing equipment identification and calibration details.
- Pass or fail status, corrective actions, and retest results where applicable.
- Names or signatures of the responsible testing personnel and required witnesses.
The report format and required supporting documents should follow the project specification and the applicable testing procedure.
Common Causes of Duct Leakage and How to Prevent Them
Duct leakage commonly occurs at poorly sealed joints, longitudinal seams, branch connections, access doors, and duct penetrations. Incorrect assembly, damaged sealant, and unsuitable sealing methods can also contribute to leakage during operation.
Common causes include:
- Poorly sealed joints: Apply the specified sealing method to transverse joints and other required connections.
- Leaking seams: Follow the project’s seal class requirements during duct fabrication.
- Loose connections: Check branch connections and fittings before testing.
- Damaged sealant: Inspect sealed areas for gaps, peeling, or incomplete coverage.
- Installation damage: Check ductwork for damaged panels, displaced connections, or openings created during site work.
Preventing these problems during fabrication and installation can reduce repair work, failed tests, and additional testing costs.
How to Calculate Duct Leakage
In a duct leakage test, find the allowed limit first, then compare it with the measured result. Here is a worked example.
A rectangular section is built to Seal Class B (CL = 8) with a test pressure of 2 in. wg. Its surface area is 500 ft².
Maximum leakage: F = 8 x 2^0.65 = 8 x 1.57 = 12.6 cfm per 100 ft². For 500 ft², that allows 62.8 cfm.
If the tester reads 55 cfm, the section passes. If it reads 70 cfm, it fails and must be sealed.
Duct Leakage Test for Rectangular vs. Round Ducts
Both rectangular and round ducts can be tested using an appropriate duct leakage testing setup. The main difference in preparation is how the surface area is calculated and how the test section is isolated.
For rectangular ducts, the surface area is calculated from the section’s length and perimeter. For a straight round duct, the lateral surface area depends on its diameter and length. Fittings, branches, and other included components should be accounted for according to the project measurement method.
The same acceptance principle applies to both shapes: compare measured leakage with the allowable limit calculated for the tested section using the specified leakage class and pressure.
What Is an Acceptable Duct Leakage Rate?
The acceptable duct leakage rate depends on the specified leakage class, duct surface area, and test pressure. Under the SMACNA method, the measured leakage is compared with the maximum allowable leakage calculated for the test section.
A duct section passes when its measured leakage does not exceed the project’s specified limit. The acceptance criteria should be established in the project documents before testing begins, including the required pressure, leakage class, and sections selected for testing.
There is no single leakage limit that applies to every HVAC duct system. Engineers should use the applicable SMACNA guidance, project specifications, and relevant code requirements to determine the correct acceptance threshold.
Duct Leakage Test Cost
Duct leakage test cost depends on the number of sections, access, test pressure and how many retests are needed. Specialist testers usually price by site visit or by day.
As a market reference range only, a testing visit often falls between SAR 2,000 and SAR 6,000, excluding repairs. Large projects with many sections cost more.
This is a reference range, not a fixed quote. Failed sections add sealing labour and retest time.
The cheapest way to control leakage test cost is to seal correctly during installation. A well-sealed duct usually passes the first time.
Duct Leakage Test Near Me
For a Duct leakage test near me search, pick a tester that holds current calibration papers and has done pressure-rated commercial work. Ask for a sample duct leakage test report before you hire.
Samman has offices in Jeddah and Riyadh, and our team can coordinate your ductwork scope with your testing agency. Al Samman Group has served Saudi projects since 1973, including airports in Abha, Tabuk and Jizan, under ISO 9001:2015 quality systems.
Send us your duct drawings and seal class requirements, and we will help you plan the ductwork scope.
Contact Al Samman Duct for Ductwork Requirements
Al Samman Group has supported construction and HVAC projects across Saudi Arabia since 1973, with ductwork solutions backed by ISO 9001:2015 quality management systems. Our team can review your project drawings, duct dimensions, and specified seal classes to help coordinate fabrication requirements with your testing agency.
Frequently Asked Questions
How is a duct leakage test performed?
The duct section is sealed, pressurized with a calibrated fan and held at the test pressure. The airflow needed to hold that pressure equals the leakage.
How to calculate duct leakage percentage?
Divide the leakage in cfm or L/s by the design airflow of the section and multiply by 100. SMACNA prefers leakage per 100 ft² of surface, so use the percentage only for quick comparison.
How to perform a leakage test?
Test before insulation, never exceed the pressure class, and keep people away from end caps while the section is under pressure. Record every reading for the report.
How to check for HVAC duct leaks?
Look for dust streaks, listen for hissing, and use a smoke pencil or ultrasonic detector near joints. For hidden ducts, a pressure test is the only reliable way.
Meta Title:
Meta Description: